If you want to know how to use a fixed base router well, respect what it does best: holding a bit at locked height along an edge or fence. Fixed bases feel planted and excel at continuous profiles. This walkthrough covers setup, feed direction, edge control, and when to switch to a plunge base instead.
Guides
How to Use a Fixed-Base Router for Clean Edge Work
Learn how to use a fixed base router for edge profiles, dados with guides, and table mounting with steady, controlled passes.
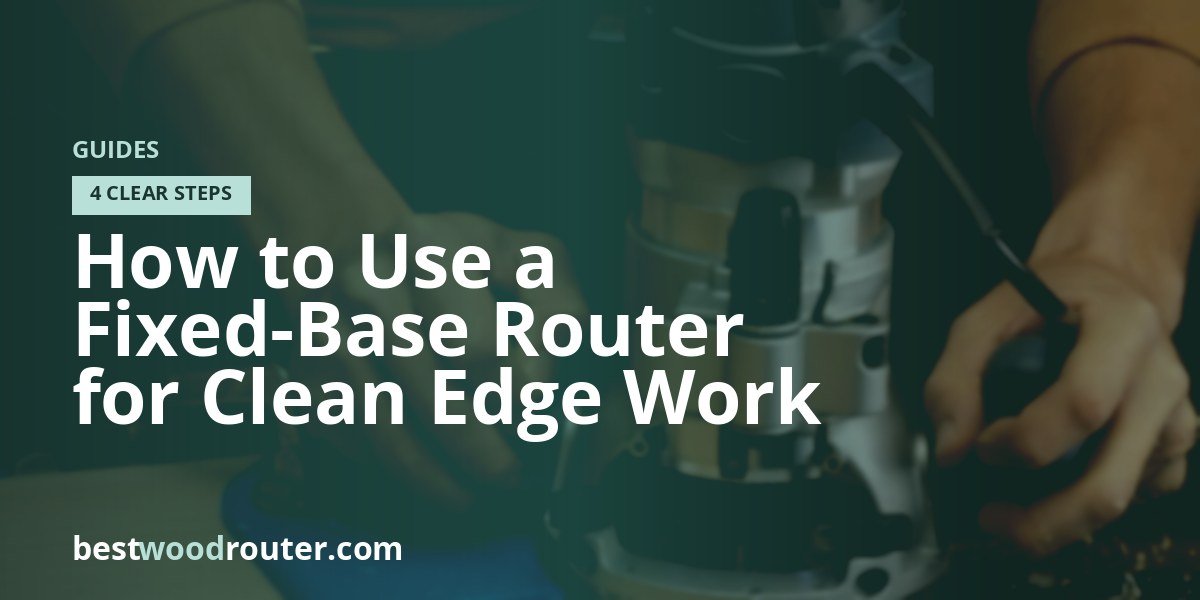
What a fixed base is—and is not
A fixed-base motor locks into a base at a chosen depth. You start the cut with the bit already at height, typically by tipping onto the work or entering from the end grain. You do not drop the spinning bit straight down into the middle of a panel the way a plunge router does. That limitation is also its strength: fewer moving parts during the cut means a calmer tool when you are balancing along a long edge.
Setup that makes handheld work feel planted
- Bit seated and tightened with a clean collet
- Depth locked after a scrap test
- Base clear of dust so it does not rock
- Edge guide, straightedge clamp, or bearing bit chosen for the job
- Workpiece secured so it cannot walk toward the cutter
Basic handheld sequence
01
Secure the stock and plan the entry
Clamp the board so the edge hangs clear or sits flush to a sacrificial fence. Decide whether you will enter from the end or tip the router onto the surface. For outside profiles, conventional wisdom is to move left-to-right when the router is between you and the edge—confirm against your bit and grain so you are cutting into the rotation, not climbing.
02
Start the motor off the work, then engage smoothly
Power up with the bit clear, let the soft-start settle if you have it, then ease the base flat. Keep both hands on the grips and your stance balanced. A hesitant, vibrating entry leaves burn marks; a smooth commit leaves a cleaner shoulder.
03
Feed at a pace the bit can clear
Listen to the motor. A steady tone means the chip load is reasonable. Screaming high pitch with smoke means you are lingering; laboring bog means you are pushing too hard or cutting too deep. Pause only after exiting the cut, not mid-edge where dwell burns the profile.
04
Exit cleanly and kill the switch
Run past the end of the cut or tip off safely, then switch off and wait for the bit to stop before setting the tool down. Hot bits and finished tabletops do not share a resting place.
Where fixed-base routers shine in the shop
Edge profiles—round-overs, chamfers, ogees—are classic fixed-base work. So is following a clamped straightedge for dados when you can enter from the end of the board. Many woodworkers also dedicate a fixed-base motor to a router table because the locked height is easy to micro-adjust from above or below. If your kit includes interchangeable bases, keep the fixed base on the table and a plunge base for in-field mortises.
Control tricks for long edges
- Use a wider sub-base for overhanging stability
- Climb-cut a whisper-thin first pass only when tear-out demands it, then finish with a conventional pass
- Support long boards so the router base never tips into air
- Break sharp corners with a light first pass before a full-depth profile
Know when to put it down
Stopped dados in the middle of a carcass, deep mortises, and template work that must drop in place are plunge-router jobs. You can improvise some of those with a fixed base, but improvisation is how bases tip and cuts wander. Match the base to the motion the cut requires.
FAQ
01
Is a fixed-base router good for beginners?
Yes for edge work and table mounting. The locked depth reduces variables while you learn feed direction and stance. Beginners should still practice on scrap and respect climb-cut risks. Once edge profiles feel natural, adding a plunge base expands what the same motor can do.
02
Which way should I move a fixed-base router along an edge?
For most handheld edge profiles with the router between you and the board edge, feed left to right so the bit rotation pulls the base into the work rather than yanking it away. Always verify for your specific setup—inside cutouts reverse the rule. When unsure, make a short test on scrap and watch whether the tool wants to self-feed aggressively.
03
Can I plunge with a fixed-base router?
Not in the controlled sense a plunge base provides. You can tip onto a cut or enter from an open end, but dropping straight down mid-panel is unsafe and imprecise. If your work regularly needs mid-board starts, use a plunge router or a combo kit with a plunge base.
04
Why does my fixed-base router leave burn marks?
Lingering in one spot, a dull bit, too high a speed for the diameter, or too deep a single pass are the usual causes. Keep the tool moving, sharpen or replace burned cutters, and take lighter passes in dense hardwood. A dirty base that rocks can also make you hesitate—and hesitation burns.
05
Should I mount a fixed-base router in a table?
Many shops do. Fixed bases are stable, and through-the-table height adjusters pair well with them. Confirm your model is designed for inverted use, use a proper plate, and keep guards and featherboards in play. Table mode turns edge profiling and repeat pass work into comfortable, fence-guided tasks.
06
How hard should I grip a fixed-base router?
Firm enough to resist twist, relaxed enough to feel feedback through the handles. A death grip transmits fatigue into wavy edges. Let the base stay flat, steer with steady pressure into the guide or bearing, and keep your shoulders over the work so arms are not fighting leverage.